Building flutter android app without gradle
Initial draft
Introduction
Flutter is a very useful framework which does quite a lot of heavy lifting and hides all the dirty details inside a black box. It is very good when you want get the job done but I really like opening black boxes as I really don’t like magic.
The sole reasoning behind this project is to build a ‘hello world’ project with as few steps as possible and in the end build an apk file which could be installed on an android phone. This will be a good starting point for other people to start investigating the build process, involved files and required tools. I will be using linux (archlinux) and build only an apk and won’t cover anything related to build steps on and for other platforms. Also current plan is to do only debug build and ignore release build but I might add release version later.
Disclaimer: You should not use this way to build your apps. Even for you hobby projects. It will be slower, more error prone and just in general degrading experience.
Refresher
So the simplest way to create and build a flutter application involves these steps:
flutter create app1
cd app1
flutter build apk --debug
In this article I will try to replicate process done in those commands with an additonal step of installing resulting apk on a device. Actually all most of the time is spent in the last command. So in reality I will be doing the last step and you will see some of the tasks being done in this one line.
Start
Let’s start with actually building a flutter/dart ‘application’ not tied to any specific platform. Since we are starting from scratch let’s start with creating a folder to contain all of our apps files. I will call it ‘handmade_flutter_app’. This will be our ROOT_FOLDER. Inside ROOT_FOLDER let’s create ‘__build’ and ‘flutter’ folders. Inside ‘flutter’ directory we need ’lib’ directory and pubspec.yaml file and inside ’lib’ directory let’s create ‘main.dart’ file.
handmade_flutter_app
    __build
    flutter
        pubspec.yaml
        lib
            main.dart
pubspec.yaml file
name: handmade_flutter
description: Just a test in building a flutter app by hand
publish_to: 'none'

version: 1.0.0+1

environment:
  sdk: '>=3.0.5 <4.0.0'

dependencies:
  flutter:
    sdk: flutter
  cupertino_icons: ^1.0.2

dev_dependencies:
  flutter_test:
    sdk: flutter
  flutter_lints: ^2.0.0

flutter:
  uses-material-design: true
main.dart file
import 'package:flutter/material.dart';

void main() {
  runApp(const MyApp());
}

class MyApp extends StatelessWidget {
  const MyApp({super.key});

  @override
  Widget build(BuildContext context) {
    return MaterialApp(
      title: 'Flutter Demo',
      theme: ThemeData(
        colorScheme: ColorScheme.fromSeed(seedColor: Colors.deepPurple),
        useMaterial3: true,
      ),
      home: const MyHomePage(title: 'Flutter Demo Home Page'),
    );
  }
}

class MyHomePage extends StatefulWidget {
  const MyHomePage({super.key, required this.title});

  final String title;

  @override
  State<MyHomePage> createState() => _MyHomePageState();
}

class _MyHomePageState extends State<MyHomePage> {
  int _counter = 0;

  void _incrementCounter() {
    setState(() {
      _counter++;
    });
  }

  @override
  Widget build(BuildContext context) {
    return Scaffold(
      appBar: AppBar(
        backgroundColor: Theme.of(context).colorScheme.inversePrimary,
        title: Text(widget.title),
      ),
      body: Center(
        child: Column(
          mainAxisAlignment: MainAxisAlignment.center,
          children: <Widget>[
            const Text(
              'You have pushed the button this many times:',
            ),
            Text(
              '$_counter',
              style: Theme.of(context).textTheme.headlineMedium,
            ),
          ],
        ),
      ),
      floatingActionButton: FloatingActionButton(
        onPressed: _incrementCounter,
        tooltip: 'Increment',
        child: const Icon(Icons.add),
      ),
    );
  }
}
Actually it for a ‘hello world’ I could have used smaller files for pubspec and main.dart but I chose to use exactly the same files that is used in a general flutter app that is created by ‘flutter create app’ command. This is done just as an arbitrary minimum bar for my definition of proof of concept ‘hello world’.
These files are enough for us to start building the project. So the first step to build the project is to ‘get packages’. This is similar to ‘flutter pub get’ but I will not be using flutter for it. So from within the ‘flutter’ directory run this command:
dart pub get
Actually real flutter will run this program with more options but this good enough for us.
After this command there will be 2 new files created: ‘pubspec.lock’ and ‘.dart_tool/package_config.json’. We run this program to download all required dependencies and to create package_config.json which is used by in the next step.
dart \
    --disable-dart-dev \
    --packages=/opt/flutter/packages/flutter_tools/.dart_tool/package_config.json \
    /opt/flutter/bin/cache/flutter_tools.snapshot \
    --quiet \
    assemble \
    --no-version-check \
    --output ../__build/assets \
    -dTargetFile=lib/main.dart \
    -dTargetPlatform=android \
    -dBuildMode=debug \
    -dTrackWidgetCreation=true \
    debug_android_application \
And we are done!
Not really, as there are quite a lot of glue missing but this is indeed the was the step that was single most important step to create a flutter application. After it we will have all required ‘flutter’ files created and ready to be packed inside the app. They all will be placed in ’__build/assets/flutter_assets’ folder. It will contain everything needed for the ‘flutter app’ to run and I don’t want to go into depth what those files are but it will contain compiled dart code with required assets.
In the command above there is ‘flutter_tools.snapshot’ compiled file from the installation location of your flutter sdk. If you want to do some ‘print debugging or just to play around by changing source code you can change ‘<YOUR_FLUTTER_ROOT>/bin/cache/flutter_tools.snapshot’ to ‘<YOUR_FLUTTER_ROOT>/packages/flutter_tools/bin/flutter_tools.dart’. This will compile flutter tools from scratch each time your run this command and will become quite slow but will give you ability to play with the tool.
Packaging into an APK
Now since we got everything we need for for the app we need to package everything into a one APK file which then we can install into a real device. Unfortunately since there are quite a few of related dependencies I first will get all the dependencies into in one go and not worry about them later. Actually the amount of all dependencies is quite large but I tried to reduce them to absolute minimum require to run the app. We will need flutter engine itself and some android jar files required for the runtime. Here are all the links to files that needed.
1. https://storage.googleapis.com/download.flutter.io/io/flutter/armeabi_v7a_debug/1.0.0-45f6e009110df4f34ec2cf99f63cf73b71b7a420/armeabi_v7a_debug-1.0.0-45f6e009110df4f34ec2cf99f63cf73b71b7a420.jar
2. https://storage.googleapis.com/download.flutter.io/io/flutter/arm64_v8a_debug/1.0.0-45f6e009110df4f34ec2cf99f63cf73b71b7a420/arm64_v8a_debug-1.0.0-45f6e009110df4f34ec2cf99f63cf73b71b7a420.jar
3. https://storage.googleapis.com/download.flutter.io/io/flutter/flutter_embedding_debug/1.0.0-45f6e009110df4f34ec2cf99f63cf73b71b7a420/flutter_embedding_debug-1.0.0-45f6e009110df4f34ec2cf99f63cf73b71b7a420.jar
4. https://maven.google.com/androidx/lifecycle/lifecycle-common/2.2.0/lifecycle-common-2.2.0.jar
5. https://maven.google.com/androidx/lifecycle/lifecycle-runtime/2.2.0/lifecycle-runtime-2.2.0.aar
6. https://maven.google.com/androidx/arch/core/core-runtime/2.2.0/core-runtime-2.2.0.aar
7. https://maven.google.com/androidx/arch/core/core-common/2.2.0/core-common-2.2.0.jar
8. https://maven.google.com/androidx/core/core/1.10.0/core-1.10.0.aar
9. https://maven.google.com/androidx/tracing/tracing/1.1.0/tracing-1.1.0.aar
First of all create a folder ’external’ at the root of our project and inside of it create two folder ‘jar’ and ’lib’. Download files 1 and 2 and extract them inside ’external’ folder. The should fill ’lib’ folder with require files. They both contain libflutter.so files one for arm 32 bit and one for 64 bit. This is the whole flutter engine compiled into a shared library. Once android app starts it will load this library which in turn will load all required files from ‘flutter_asset’ folder and start executing the app.
Next download files 3-9 and put them inside ‘jar’ folder. The issue here is that some of these files are aar files and you should extract from it ‘classes.jar’ file, put it into the ‘jar’ files and then rename it it ‘<package_name>.jar’. So let’s take as an example ’tracing-1.1.0.aar’. You extract the classes.jar file from it name it ’tracing-1.1.0.jar’.
So in the the end our ’external’ folder should look like this.
├── jar
│   ├── core-1.10.0.aar
│   ├── core-1.10.0.jar
│   ├── core-common-2.2.0.jar
│   ├── core-runtime-2.2.0.jar
│   ├── flutter_embedding_debug-1.0.0.jar
│   ├── lifecycle-common-2.2.0.jar
│   ├── lifecycle-runtime-2.2.0.jar
│   └── tracing-1.1.0.jar
└── lib
    ├── arm64-v8a
    │   └── libflutter.so
    └── armeabi-v7a
        └── libflutter.so
Next we can start just simply assembly step by step our APK file. Let’s start with defining some constants that will help us reduce typing. You should adjust it acording to your system setup.
export SDK="/opt/Android/Sdk"
export BUILD_TOOLS="${SDK}/build-tools/29.0.2"
export PLATFORM="${SDK}/platforms/android-33"
export BUILD_DIR=$(realpath "__build")
export PROJECT_DIR=$(realpath ".")
We will need 2 java files: MainActivity.java and GeneratedPluginRegistrant.java. MainActivity is should be placed in our custom java package and GeneratedPluginRegistrant inside specific flutter package. In the root folder of our project create ‘java’ folder and create 2 files there: “java/com/hereket/handmade_flutter/MainActivity.java” “io/flutter/plugins/GeneratedPluginRegistrant.java”
Here is com/hereket/handmade_flutter/MainActivity.java
package com.hereket.handmade_flutter;
import io.flutter.embedding.android.FlutterActivity;
import io.flutter.embedding.engine.FlutterEngine;

public class MainActivity extends FlutterActivity {}
And here is io/flutter/plugins/GeneratedPluginRegistrant.java
package io.flutter.plugins;
import io.flutter.Log;
import io.flutter.embedding.engine.FlutterEngine;

public final class GeneratedPluginRegistrant {
  private static final String TAG = "GeneratedPluginRegistrant";
  public static void registerWith(FlutterEngine flutterEngine) {
  }
}
Compile java code
So we will compile java files into their bytecode with javac. For that we will need to add some extra files to the classpath so javac knows about extra information related to android in general and some info about flutter. The resulting files will be placed into ‘__build/obj’ folder.
CLASSPATH="${PLATFORM}/android.jar"
CLASSPATH="$CLASSPATH:${PROJECT_DIR}/external/jar/flutter_embedding_debug-1.0.0.jar"
CLASSPATH="$CLASSPATH:${PROJECT_DIR}/external/jar/androidx.lifecycle/lifecycle-common-2.5.1.jar"

javac \
    -classpath "$CLASSPATH" \
    -d "$BUILD_DIR/obj" \
    java/com/hereket/handmade_flutter/MainActivity.java \
    java/io/flutter/plugins/GeneratedPluginRegistrant.java \
Convert class files to dex
Android does not work with ‘.class’ files directly as it is running on dalvik machine. Davlik requires ‘.class’ files to be converted to be convert to dex files. In this step we will convert all our compiled java code into dex and then merge them with required external java code. This is separate from the step above as we will adding this code into one dex file which later will be used in runtime.
CLASS_FILES=$(find $BUILD_DIR/obj/ -iname "*.class")
"${BUILD_TOOLS}/d8" $CLASS_FILES  --output $BUILD_DIR/apk/my_classes.jar

pushd $BUILD_DIR/apk

"${BUILD_TOOLS}/d8" my_classes.jar \
    ${PLATFORM}/android.jar \
    ${PROJECT_DIR}/external/jar/flutter_embedding_debug-1.0.0.jar \
    ${PROJECT_DIR}/external/jar/lifecycle-common-2.2.0.jar \
    ${PROJECT_DIR}/external/jar/lifecycle-runtime-2.2.0.jar \
    ${PROJECT_DIR}/external/jar/core-common-2.2.0.jar \
    ${PROJECT_DIR}/external/jar/core-1.10.0.jar \
    ${PROJECT_DIR}/external/jar/tracing-1.1.0.jar \

popd
I run this code from ‘apk’ directory and as a result we will get a ‘classes.dex’ file which will contain all our code and all external code in one compact format.
Create apk v1: Raw
Now we have all the required files and can create a first version of an apk. Apk is just a zip file off all the required files. Here I used ‘aapt’ tool from andoid sdk. Now everybody uses aapt2 but since I learned this stuff at the time when aapt was the tool to use and I remember how to use I will go with it. From the the root folder of our project run this command:
"${BUILD_TOOLS}/aapt" package -f -M AndroidManifest.xml -S res \
    -A assets \
    -A $FLUTTER_OUTPUT_DIR \
    -I "${PROJECT_DIR}/external/jar/flutter_embedding_debug-1.0.0.jar" \
    -I "${PLATFORM}/android.jar" \
    -F $BUILD_DIR/handmade_flutter.unsigned.apk $BUILD_DIR/apk/
As a result of this command we will get handmade_flutter.unsigned.apk. It is real apk but it won’t run on android as it needs some processing before android will accept it.
Create apk v2: zipalign
This step is just a an required optimization step that just aligns files inside the apk. It is used as an optimization on androids side to load apps faster. If you you want to dig deep you can look into documentation but I won’t dive into it. Just run this:
"${BUILD_TOOLS}/zipalign" -f -p 4 \
    $BUILD_DIR/handmade_flutter.unsigned.apk $BUILD_DIR/handmade_flutter.aligned.apk
The result of this command will be a new file named handmade_flutter.aligned.apk which will be used in the next step.
Create apk v3: Final and signed
Everything is ready. But we need to sign the apk as it is a requirement of android security system. It is needed for android to verify that for example if android already has an app with this package name and need to overwrite it, it could verify that the signer of the original app and this one is the “same” person.
"${BUILD_TOOLS}/apksigner" sign --ks keystore.jks \
    --ks-key-alias androidkey --ks-pass pass:android \
    --key-pass pass:android --out $BUILD_DIR/handmade_flutter.apk \
    $BUILD_DIR/handmade_flutter.aligned.apk
For this you will need to have your key to be prepare. In the command above it is named ‘keystore.jks’. As a result you will get an APK file handmade_flutter.aligned.apk inside the __build directory. This is full blow, real apk that can be installed and used on real devices. Of course you cannot upload to playstore as they no longer accept apk files. If you don’t have a key get one in the next step.
[Extra] Create key
Just in case if you don’t have a key and don’t know how to create or don’t want to bother with here is a quick command to create a dummy that will work with previous command.
keytool -genkeypair -keystore keystore.jks -alias androidkey \
       -validity 10000 -keyalg RSA -keysize 2048 \
       -storepass android -keypass android
Running app on the device
I will not be going over how to install adb if you don’t have one then just upload the apk in any possible way to your device and install directly from device.
But if you have adb installed you can run this command to install and launch create applition directly on your device
adb install -r $BUILD_DIR/handmade_hero.apk
adb shell am start -n com.hereket.handmade_hero/.MainActivity
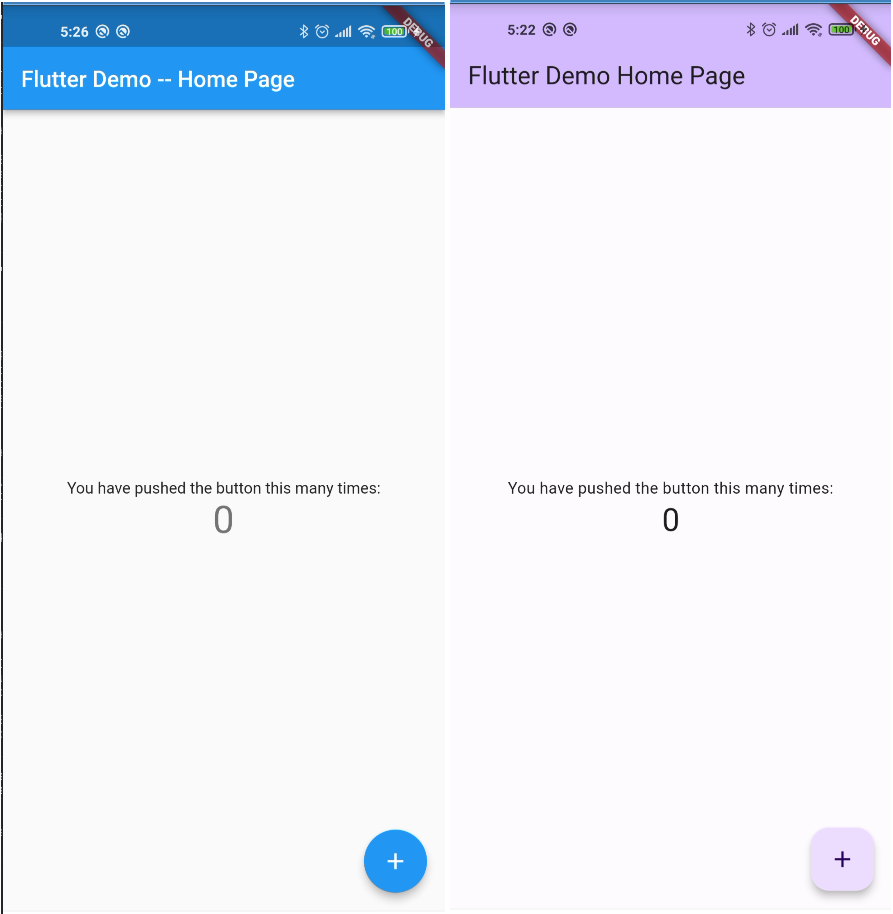
and you whould have a running flutter application
!(Final result - running flutter app)[/images/posts/handmade_flutter/result.png]
Conclusion
Small part of ‘flutter build apk –debug’ in one not small article.
Without using ‘flutter’ command or without any help of ‘gradle’ we were able to create a fully funtional flutter app with just some android tools, some dart, java and bare hands. The idea was just to be able to put together parts and actually try to understand how they are funtioning. I did cheat a little bit and didn’t decompose the working of flutter tool even further for the compilation part but the article is already to big to swallow.
The initial goal was to do it myself and learn how it fits together and the article ti my way to help people get on track of flutter build process a bit faster.
I decided to go with debug build just because there is more projects I want do try with this build like communicating with runtime server, partial recompilation and other procrastination topics. Hope this will help other procrastinators.
Rework: Fun part is that when I started writing the article I was testing this whole thing on flutter 2.19 and in the process I decided to upgrade to flutter 3.0+ and everything stopped working as flutter moved to java 11 and I was using dx which didn’t support newer java. And during rewrite the whole script got smaller which is a win.
You can get all the code in the github repository: https://github.com/hereket/handmade_flutter